How to Install Solar Panels on Roof: A Complete 2025 Guide for Commercial, Manufacturing and Residential Rooftops
Installing solar panels on a roof is an excellent way to reduce energy costs, lower your carbon footprint, and increase your building’s energy independence. Whether you’re installing solar panels on a residential home, a commercial office building, or a manufacturing facility, the process is quite similar.
In this guide, we’ll walk you through the steps for installing solar roof panels and help you understand the key factors involved in a successful solar panel roof installation.

1. Initial Assessment and Planning For Solar Panels on roof Installation
Before installing solar panels on your roof, it’s essential to assess whether your roof is suitable for solar panel installation. This applies to all types of buildings residential, commercial, and manufacturing.
Roof Condition:
Ensure that your roof is in good condition and can support the weight of solar panels for the next 25+ years.
Roof Type and Orientation:
Solar panels perform best when installed on south-facing roofs (in the Northern Hemisphere), but they can also work on east- or west-facing roofs. Check your roof’s pitch and orientation to determine the best location for mounting solar panels on the roof.
Obstructions and Shade:
Check for trees, chimneys, or other obstructions that could cast shade and reduce the efficiency of your solar panel roof installation.
Energy Needs:
Calculate the energy demand of your property to determine how many solar panels you’ll need to meet those needs. A residential home will likely need fewer panels than a large commercial or manufacturing rooftop.
2. Choosing the Right Solar Panel for Roof Installation
Choosing the right solar panel is critical to the performance of your system. Here’s what to keep in mind when selecting solar panels for a roof, whether it’s residential, commercial, or manufacturing:
Panel Size and Output:
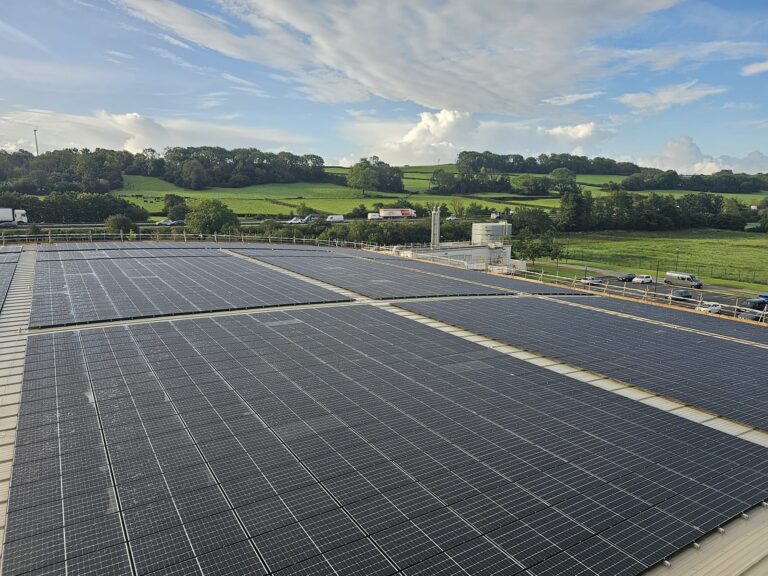
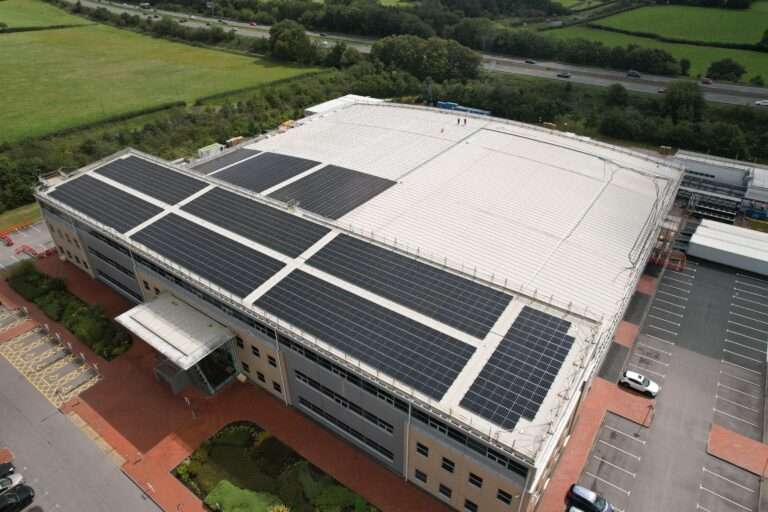
The number of solar panels you’ll need depends on your building’s energy needs and the available roof space. Larger roof space, such as those on commercial or manufacturing buildings, may be able to accommodate more panels.
Panel Type:
There are three main types of solar panels monocrystalline, polycrystalline, and thin-film. Monocrystalline panels are the most efficient and are often a good choice for roofs with limited space.
Aesthetic Considerations:
If aesthetics matter, especially for residential or office rooftops, you may want to opt for black solar panels that blend in more seamlessly with the roof.

3. Preparing for Solar Roof Installation
Once you’ve decided on the right panel, it’s time to prepare for the solar roof installation:
Electrical System:
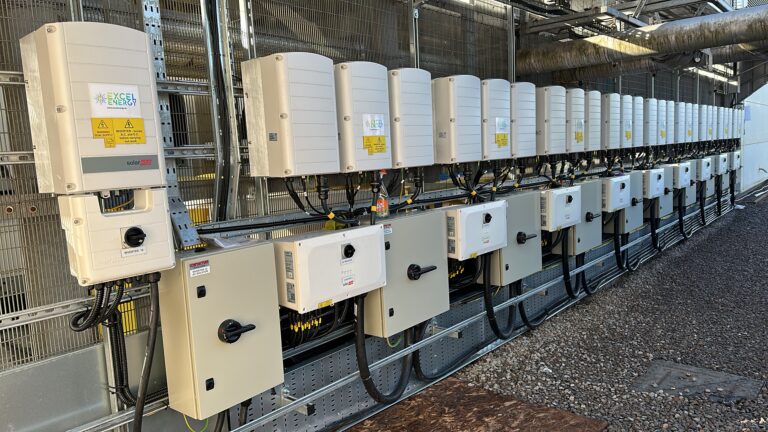
Ensure your electrical system is ready to handle the solar setup. This includes wiring, the inverter, battery energy storage system, BESS) and safety disconnects for your commercial or residential solar panel roof installation.
Mounting A Solar Panel System:
Installing solar panels on a roof requires a strong mounting system to secure the panels. Mounting a solar panel system includes roof hooks, rails, and brackets that attach the solar panels to the roof structure.
4. Installing the Mounting Solar Panel Roof System
The first physical step in installing solar panels on the roof is setting up the mounting system. This is where you begin mounting solar panels on the roof:
Rails Installation:
Once the roof hooks are in place, the rails are attached to create a sturdy structure for solar panels. These rails run along the length of the roof, and solar panels will be placed on top of them.
Secure Roof Hooks:
Roof hooks are installed in the roof rafters to provide a secure base for your solar panel mounting rails.
Check for Alignment:
Ensure that the solar panel mounting rails are aligned properly, as correct alignment is crucial for solar panel placement on the roof. Misalignment can lead to poor energy generation.
5. Mounting Solar Panels on Roof
With the rails in place, you can now begin mounting solar panels on the roof mounting :
Angle and Orientation:
Ensure the panels are angled at the correct pitch to maximise energy generation. This varies based on the roof's pitch and geographical location. A typical solar panel angle is between 30 and 40 degrees.
Position the Panels:
Position each solar panel onto the mounting rails and secure them with fasteners. For both commercial and residential solar roof installations, it's important that each panel is securely attached to the rails.
Proper Spacing:
Maintain the correct spacing between solar panels to avoid shading and ensure maximum efficiency.

6. Wiring the Solar Panels in Roof Installation
Now that the solar panels are mounted securely on the roof, it’s time to wire them to the electrical system:
Install the Inverter:
The inverter converts the direct current (DC) electricity produced by the solar panels into alternating current (AC) electricity, which is used to power your building.
Connect Panels in Series:
Solar panels are typically wired together in series to form a string. Each string of panels is then connected to an inverter.
Safety Disconnects:
Install safety disconnects to allow for easy shutdown of the system if maintenance or emergency access is required.
7. Testing and Commissioning the Solar Panel Roof System
Before you can start using the power generated by your solar roof panels, you’ll need to test the system:
Test the Inverter:
Verify that the inverter is correctly converting DC power into usable AC power.
Check Wiring Connections:
Ensure all electrical connections are secure and comply with local electrical codes.
Monitor Energy Output:
Use monitoring systems to track the performance of your solar panels. Commercial buildings or large manufacturing rooftops may require more complex monitoring systems for optimal efficiency.

8. Maintaining and Monitoring Your Solar Roof Panels
After installing solar panels on your roof, it’s essential to maintain the system to ensure long-term efficiency:
Check for Damage:
Inspect your solar panels and mounting system regularly to check for any wear or damage, especially after storms or harsh weather.
Regular Cleaning:
Dust, dirt, and debris can accumulate on solar panels, reducing their efficiency. Cleaning the panels periodically helps maintain their performance.
Monitor Performance:
For both commercial and residential properties, using a monitoring system can help ensure the solar panels are functioning as expected. Monitoring also allows you to identify any issues early.
Conclusion
Learning how to install solar panels on a roof involves careful planning and execution, whether you’re installing them on a residential, commercial, or manufacturing rooftop. By following these steps for installing solar panels on your roof, you can ensure that your solar roof installation is efficient and effective.
Solar panels on the roof can provide long-term savings, reduce your environmental impact, and increase the value of your property. Whether you’re installing solar panels on a residential home, an office building, or a large manufacturing facility, solar energy is a smart, sustainable solution.
