Setting Up Solar Panels: A Guide to Designing and Installing a PV System
As the global demand for renewable energy grows, solar power has emerged as a leading choice for residential and commercial applications.
Setting up solar panels requires a well-planned solar PV system design to maximise energy efficiency, reduce costs, and ensure seamless installation. From selecting the right solar panels to determining optimal placement, every step plays a crucial role in system performance and sustainability.
This comprehensive guide will walk you through the key aspects of solar power system design, including site assessment, component selection, and PV system installation, equipping you with the knowledge to having reliable and efficient solar PV panel system.

What is Photovoltaic System?

A photovoltaic (PV) system is an advanced renewable energy solution that harnesses solar radiation to generate electricity.
It consists of solar panels embedded with photovoltaic cells, which convert sunlight into direct current (DC) electricity through the photoelectric effect.
This DC power is then fed into an inverter, which transforms it into alternating current (AC) electricity, suitable for residential, commercial, and industrial applications.
Proper solar PV system design is essential for optimising energy yield, ensuring system reliability, and minimising operational inefficiencies.
A well-engineered solar panel system design considers factors such as panel orientation, shading analysis, and load demand to enhance efficiency, extend system lifespan, and reduce long-term maintenance costs, ensuring sustainable and cost-effective energy production.
Steps to setting up Solar Panels
1. Assess Your Energy Needs
Before setting up solar panels, determine your energy consumption. This requires reviewing past electricity consumption to estimate your average kilowatt-hour (kWh) usage. A thorough analysis will help you understand peak consumption times and seasonal variations. This step is vital for designing a system that meets your specific energy demands without over or under-producing electricity. You should also consider future energy demand requirements, such as electric vehicle charging or business expansions, to ensure your system remains sufficient over time.
2. Site Evaluation
A proper site assessment is fundamental to solar PV design. Key factors to consider include:
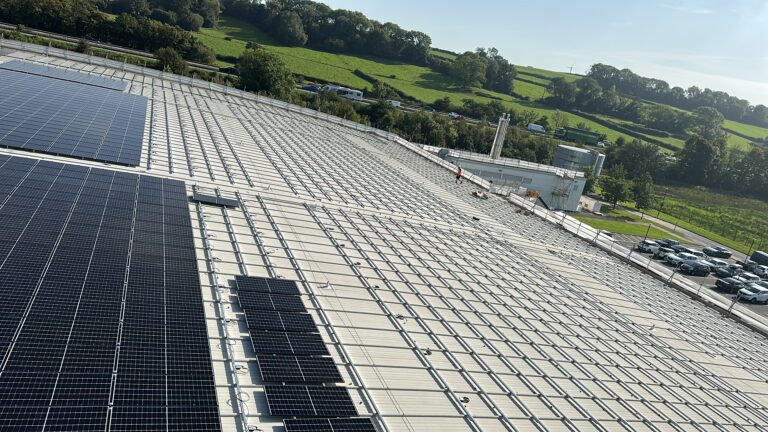
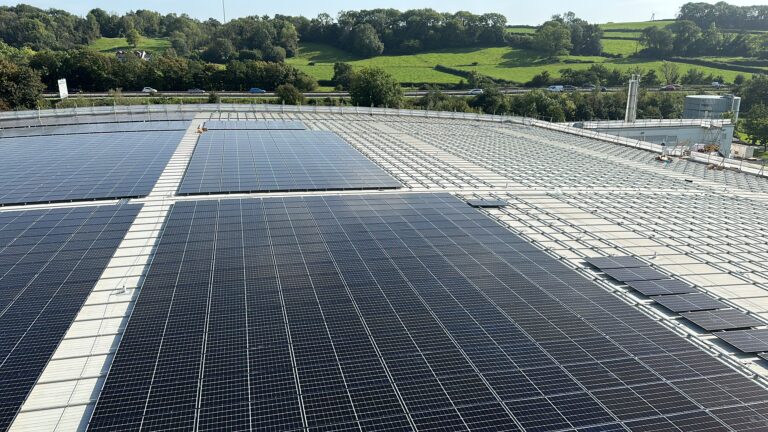
✅ Available Roof Space: Ensure there is enough unshaded space to accommodate the required number of solar panels. The layout must be optimised to maximise energy generation while maintaining aestheticness, maintenance access and structural integrity.
✅ Panel Orientation: In the northern hemisphere, panels should ideally face south to maximise sunlight exposure. If this is not possible, east- or west-facing installations can still be effective, though with slightly reduced efficiency.
✅ Shading Analysis: Minimise shading from trees, buildings, or other obstructions that can impact efficiency. Even partial shading can significantly reduce power output, making a shading analysis critical. Where significant shading is present deploy an optimised solar PV sytem.
✅ Roof Type and Condition: The structural integrity of the roof should support the weight of the solar panel system. Asphalt shingles, metal, and tile roofs are generally suitable, but older or weaker roofs may require reinforcement or replacement before installation.
4. Choose an Inverter
An inverter is a key component of solar PV system design, converting DC electricity from the panels into AC electricity for commercial or home use. There are different types of inverters:
✅ String Inverters: Cost-effective and generating high yields using mulpiple MPP tracking for string circuits.Widely used for commercial and residential applications.
✅ Microinverters: Typically come at a higher price than string inverters. However, they can enhance overall system performance. It's essential to evaluate whether the long-term gains justify the initial investment.
✅ Power Optimisers: Used alongside string inverters to boost performance, optimising power output at the solar panel level.
Your choice should align with the system’s configuration, energy requirements, and potential shading conditions.
3. Select the Right Solar Panels
The efficiency of your solar power system design largely depends on the type of panels you choose. With solar panel watt peak capacity increasing from 160Wp to 720Wp and efficiency levels now reaching up to 25%, selecting high-performance panels is crucial for maximising energy output and sustainability.The main options include:
✅ Monocrystalline Panels: These offer high efficiency and longevity and widely used, making them ideal for commercial roof spaces. Though more expensive, they provide the best power output per square foot.
✅ Polycrystalline Panels: These are more cost-effective but slightly less efficient than monocrystalline panels. They are a good choice for larger roof spaces where efficiency is less of a concern.
✅ Thin-Film Panels: Lightweight and flexible, these panels require more space and are generally used for commercial applications or installations where weight is a concern.
Choosing the right panel type ensures optimal energy production and long-term system performance.
6. System Layout and Mounting
A well-structured solar PV system design involves several key considerations:
✅ Determining the Number of Panels Required: Based on the total system size, divide the required wattage by the wattage per panel to determine how many panels are needed.
✅ Optimising Panel Tilt and Orientation: The optimal tilt angle depends on your latitude, while adjustable mounts can enhance seasonal performance.
✅ Selecting a Suitable Mounting System: Fixed mounts are cost-effective, while adjustable or tracking mounts improve energy yield by following the sun’s movement.
Solar PV designers often use advanced software to create an optimised layout, ensuring the best balance of efficiency, durability, and cost-effectiveness.
5. System Sizing
Accurately sizing the system is essential for effective solar panel setup. Use the following formula:
System Size (kW) = Daily Energy Usage (kWh) / Peak Sun Hours
Consider panel efficiency and geographical location when determining size. It is also wise to include a buffer for unexpected energy consumption or efficiency losses due to dust, weather, or aging components. Online solar calculators or professional installers can help refine the calculations.

Steps After Solar PV System Design
2. Install the Panels
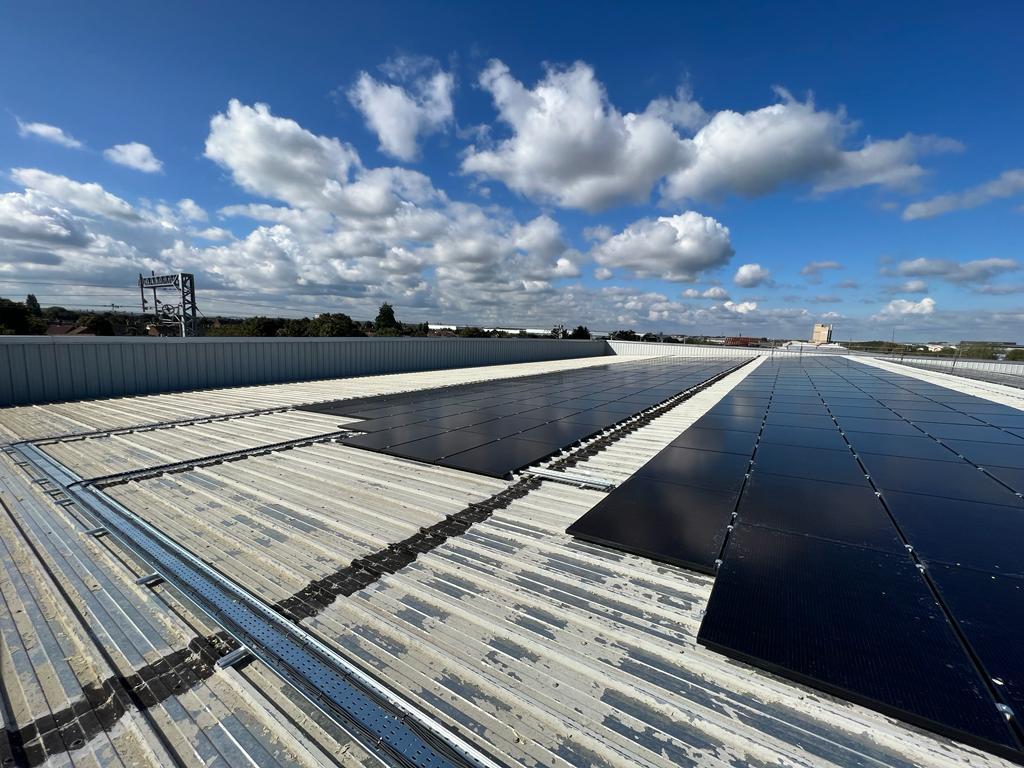
The first step in solar PV system installation is securely mounting the solar panels on the roof using the selected mounting system. Proper alignment and secure attachments are essential for durability and optimal sunlight exposure. The process involves:
✅ Positioning the Racking System: Secure the mounting hardware onto the roof while ensuring it is weatherproof and structurally sound.
✅ Attaching the Solar Panels: Fix the panels to the mounting structure with appropriate fasteners.
✅ Optimising Panel Angle and Orientation: Panels should be positioned at an angle that maximises sun exposure based on geographic location.
A professional installer will ensure that the mounting system is correctly installed to withstand various weather conditions.
1. Obtain Permits and Approvals
Before PV system installation, obtain the necessary permits based on local regulations. This step ensures compliance with electrical and safety standards. Different regions have varying requirements, so it is essential to check with local authorities or a licensed solar installer. Permits may include electrical permits, building permits, and utility interconnection approvals. Proper documentation and adherence to regulations prevent legal issues and ensure a smooth installation process. Consulting professionals or using online permit services can expedite approvals.
4. Grid Connection (If Applicable)
For grid-tied systems, a bi-directional meter is installed to track both electricity consumption and excess energy sent to the grid. The process involves:
✅ Coordinating with the Utility Company: Approval is required before connecting to the grid.
✅ Installing the Bi-Directional Meter: This meter records both power consumption and solar energy fed back into the grid.
✅ Testing Grid Connectivity: Ensuring that the system seamlessly integrates with the utility grid and meets safety standards.
Homeowners may also consider net metering programs, which allow them to receive credits for excess energy produced.
3. Connect the Inverter
Position the inverter in a well-ventilated, shaded location to prevent overheating. Connect it to the solar panels and integrate it with the building’s electrical system. The steps involved include:
✅ Wiring the Solar Panels to the Inverter: Use appropriate cables and connectors to ensure a secure connection.
✅ Selecting the Right Location: The inverter should be placed near the main electrical panel but away from direct sunlight and moisture.
✅ Grounding the System: Proper grounding is essential to prevent electrical faults and enhance safety.
Different inverters, such as string inverters or microinverters, may require specific installation steps. Ensuring proper configuration improves energy conversion efficiency.
5. System Testing and Commissioning
After installation, thorough testing ensures the system functions correctly. This includes:
✅ Verifying Inverter Operation: Checking that the inverter converts DC to AC efficiently.
✅ Checking Electrical Connections: Ensuring secure and properly insulated wiring.
✅ Ensuring Optimal Energy Production: Monitoring energy output and confirming it meets expected levels.
✅ Conducting Safety Inspections: Verifying grounding, surge protection, and compliance with electrical codes.
A performance monitoring system can be installed to track solar energy production and detect potential issues early.

The Role of a Solar PV Designer
A solar PV designer plays a crucial role in solar panel system design, ensuring:
✅ Optimal Panel Placement for Maximum Energy Yield: Using advanced software to simulate solar exposure and optimise layout.
✅ Compliance with Local Codes and Safety Regulations: Ensuring the system meets all legal and safety requirements.
✅ Efficient Use of Available Space and Resources: Designing a system that maximises energy output within the given constraints.
Hiring a professional solar PV designer enhances system performance and reliability, leading to better energy savings and longevity of the solar installation.
Conclusion
A well-planned solar power system design is key to maximising energy savings and sustainability. By following this guide, you can create a solar panel setup tailored to your unique needs, ensuring optimal performance and long-term benefits. Whether for your home or business, working with a solar PV expert enhances efficiency and boosts return on investment. Don’t miss out on the opportunity to lower energy costs and reduce your carbon footprint.
Ready to harness the power of solar?
Get a free consultation today and take the first step toward clean, cost-effective energy!
